Master Your Craft: A 7-Steps Guide to Music Mastering [UPDATED]
Tips and tricks for young producers and independent musicians
Welcome, fellow producers and independent musicians!
In this episode of Echoes, we offer some advice for mastering if you have no prior experience. Mastering is crucial in producing a professional audio master, ensuring that your work sounds at its best across various media (vinyl, CD, cassette, digital distribution).
Good recording, mixing, and pre-master are fundamental to making your music sound great. Ironically, the best mastering is the one that requires no intervention. During the mastering process keep always in mind the type of music you’re working on and its characteristics, as well as the intended distribution format.
As you read this, remember: these are just basic tips and guidelines to introduce you to this world. Mastering is a subject that requires a lot of study, passion, and in-depth exploration. Experiment and try things out. If you can, consult with industry professionals.
Invest some money and have a good mastering studio do a mastering job for you. Starting with the pre-master you provided, try to replicate on vinyl the mastering they did.
Put in passion and have fun; we'll take care of making the record good for you... and remember, a good vinyl cut is at least 50% dependent on a good master.
And if you feel like you need that extra enhancement, get in touch with us at Vinilificio and we’ll be happy to help.
1. Preparing for Mastering: an important start
Track Cleaning
Before starting the mastering process, make sure your track is clean. Remove any unwanted background noise, and correct any audio defects. Use noise reduction plugins to handle clicks and pops.
Levelling
Make sure the mix is balanced. Check for any peaks that are too high and ensure all parts of the track are well-balanced. This step is crucial to avoid issues during mastering. Tools like Waves PAZ Analyzer can help with this.
Export in the Right Format
Export your mix in a lossless format, preferably at 24-bit/96kHz. This will maintain the highest audio quality during mastering. Use your DAW’s export function to ensure the correct settings.
2. Starting the Mastering Process
Import the Track
Import your track into a Digital Audio Workstation (DAW) for mastering. Use a DAW you're familiar with to make the process smoother. Logic Pro, Pro Tools, and Ableton Live are popular choices. No matter what your choice, it is crucial that you are accustomed to the DAW, or at least take the time to understand the most important parts and functioning of it.
Track Analysis
Before applying any effects, listen carefully to the track and use a spectrum analyzer to identify areas that need attention. Note any frequency or dynamic issues. FabFilter Pro-Q 3 is a great tool for this.
3. The Equalization (EQ) of The Tracks
Cleaning Up Low Frequencies
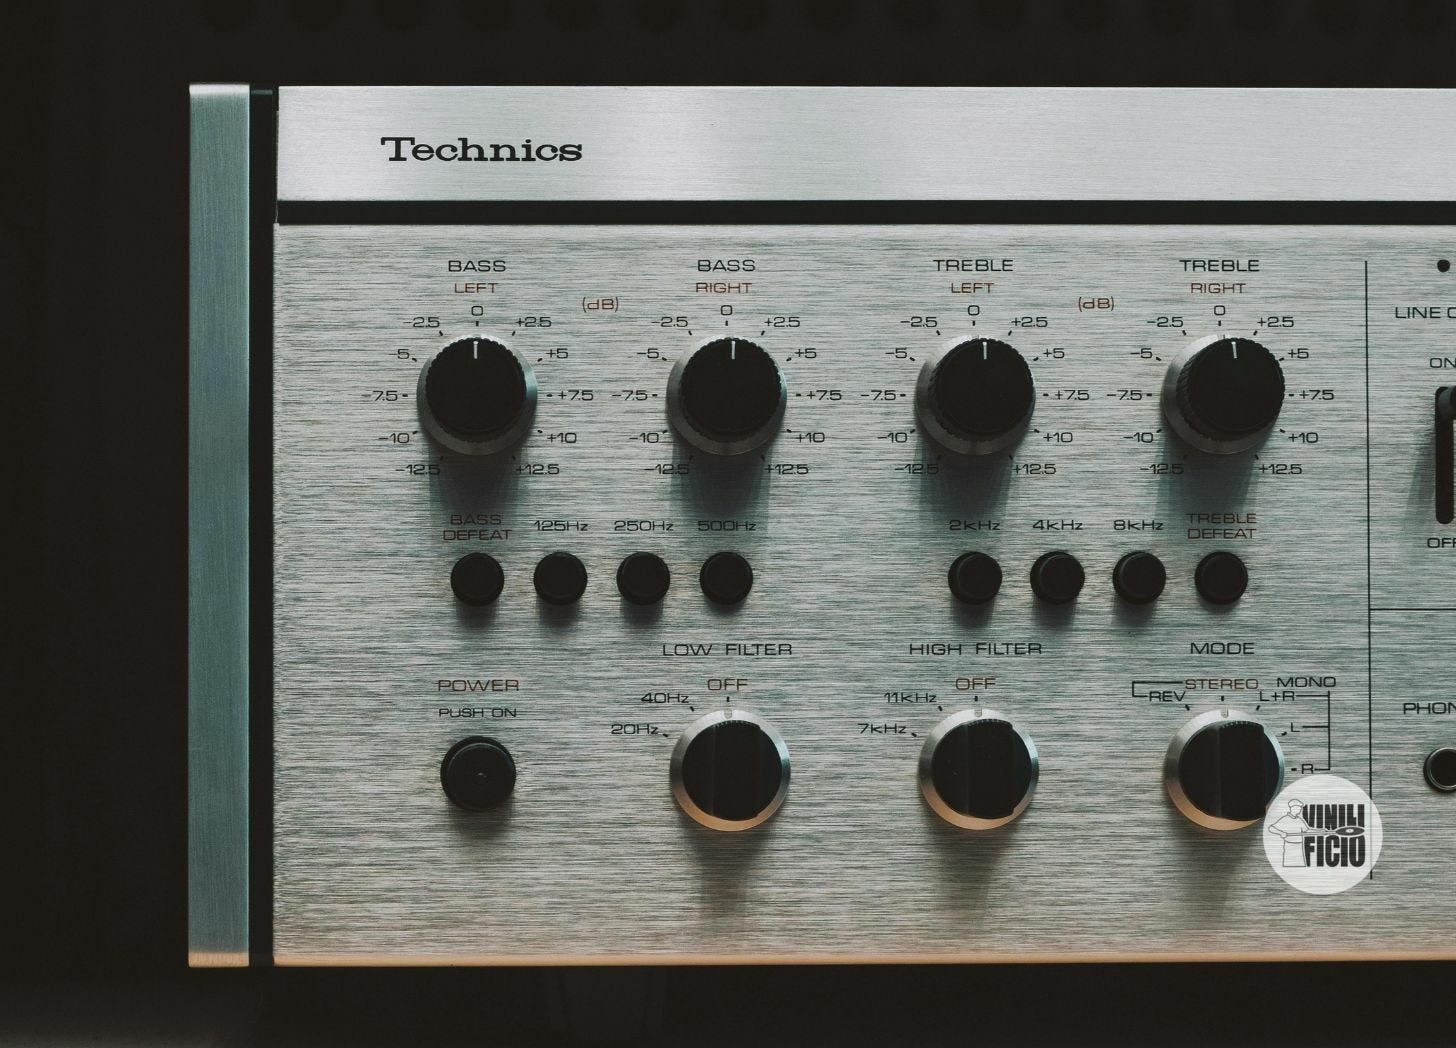
Use a high-pass filter to remove very low frequencies that add no value and can cause problems on some playback systems. Usually, everything that is below the 30Hz range must go. Aim for precise EQ adjustments.
Enhancing Mid Frequencies
Slightly boost the mid frequencies to give the track clarity and presence. Be careful not to overdo it, as mid-frequencies can easily become harsh. Again, a good EQ’ing is highly recommended.
Adjusting High Frequencies
Add brightness to the track by gently boosting the high frequencies. This step can make your music sound more lively and detailed.
Vinyl Mastering Note
For vinyl records, avoid excessive boosting of low frequencies, on phonographic recordings, emphasising low frequencies is not always synonymous with a solid and powerful sound. Use a Low-Frequency Rumble Filter to remove sub-bass below 20-30 Hz, and apply a High-Frequency Limiter to avoid sibilance and excessive brightness. Remember that frequencies above 14/15 kHz at very high volumes cannot be recorded. For best results, we recommend placing the tracks with higher frequencies at beginning of the tracklist per each side.
Need Help? Vinilificio can help you!
4. Compression
Multiband Compression
Use a multiband compressor to manage different frequency areas independently. This allows better control over the track's dynamics without compromising the entire recording. iZotope Ozone is a powerful suite for multiband compression.
Limiter
Apply a limiter to prevent the track from exceeding 0 dB and causing distortion. Set the limiter carefully to preserve the natural dynamics of the music. Waves L2 Ultramaximizer is a popular choice. And a good one, too.
Vinyl Mastering Note
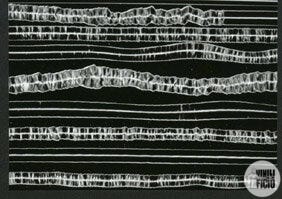
An important aspect of phonographic recording is the relationship between audio duration and space (vinyl format). The more music to be engraved, the narrower the groove and the lower the signal strength. This aspect decisively influences the output power of the audio signal as well as the dynamic ratio of the signal. If you intend to cut dance music on vinyl, do not exceed 12 minutes (at 33 rpm) per side on 12" vinyl.
The same if you look to transfer on vinyl a master with a fairly wide dynamic range (classical music), or ambient music. Remember that the less music per side, the better the sound quality...but never forget that music is an art form and that the sound engineer's job is to find the best balance between art and technique to make the most of the sound work.
For Further Information: Vinilificio Service Single Copies Tips
5. Stereo Enhancement
Stereo Expansion
Use stereo widening tools to give a sense of width to the track. Be cautious not to overdo it, as too much expansion can cause phase issues and make the track less mono-compatible. To give your audio a sense of depth, and avoid phase problems, we suggest working on the Mid/Side.
Phase Control
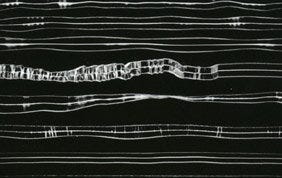
Always check the phase of your track to avoid frequency cancellation issues when played on mono systems. Tools like iZotope Ozone Imager are useful for phase analysis. Remember that out-of-phase signals on phonographic grooves can create a thinning of the groove and in extreme cases even a gap, causing distortions or playback needle jumps.
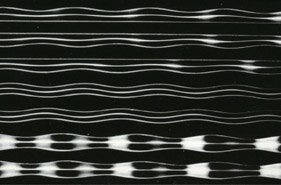
Vinyl Mastering Note
Vinyl records can have issues with stereo signals below 300-200 Hz. Ensure that bass frequencies are centred to avoid skipping and mistracking. Use a Mid/Side EQ to control the stereo image.
6. Volume Optimization
Headroom
The average volume should not exceed -10 dB RMS (unless necessary for artistic reasons). At higher volumes, distortion-free reproduction can no longer be guaranteed with all source materials.
At a resolution of 24 Bit PCM, an approximate headroom of 48 dB is available before signal noise occurs.
Vinyl Mastering Note - To Summarize and Wrap Up
Vinyl requires extra care. Although almost any audio signal can be recorded on vinyl, it is advisable to follow important guidelines to obtain good quality.
Remember that the better the quality of the master, the better the quality of the audio recorded on vinyl. We always recommend appropriate mastering for vinyl.
The engraving’s speed (33/45/78 rpm) is another important factor affecting the quality of the groove reading along with the disc size (5‘/7’/10‘/12’). The closer you get towards the centre of the disc, the slower the stylus reads the groove.
Decreasing the speed towards the centre of the disc results in a less accurate reading of the groove causing, among other problems, distortion. For the reasons mentioned above, qualitatively speaking it is not recommended (although technically possible) to record a 7’ format at 33 rpm.
Low Frequencies:
Frequencies below 20 Hz can create resonance problems
To avoid out-of-phase signals with consequent groove interruptions and hence, needle-jumping, it is advisable to keep MONO frequencies below 300 Hz.
Avoid out-of-phase signals if you do not have thorough mastering knowledge. To check if there are any out-of-phase signals use a Correlation Meter available in almost all audio programs and DAWs.
High Frequencies:
De-esser: We recommend using a de-esser on all voices and all sibilants in general.
Frequencies above 14/15 kHz at very high volumes cannot be recorded.
For best results, we recommend placing the tracks with higher frequencies at the beginning of the vinyl.
Ask for Advice: Call Vinilificio!
7. Export Formats and You’re Done!
Master Export
Export the final master in a high-quality format like WAV or AIFF. In most cases, depending on the requests for distribution, a 16-bit file is preferable. Avoid compressed formats like MP3 for the final distribution.
Vinyl Mastering Note
For vinyl records, create a dedicated master with specific vinyl record considerations such as reduced sibilance and controlled low-end. Ensure the sides (A/B) are within the time limits for optimal vinyl pressing. For more details, please check our guidelines.
If in Doubt: Ask your Friends at Vinilificio
Final Tips and Tricks: Time to Play!
Listening to Different Systems
Listen to your track on various playback systems: headphones, studio monitors, car audio systems, etc. This helps identify if any issues might not be obvious on a single system.
Take Breaks and Relisten
Take breaks during your mastering and post-mastering process and listen to the track with fresh ears. This helps maintain an objective perspective.
Seek Feedback
Don’t be afraid: ask for feedback from other musicians or sound engineers. A second pair of ears can make a significant difference. If in doubt, get in touch with us too.
Mastering can seem like a complex process, but you'll become skilled with practice and attention to detail. Keep experimenting, listening, and learning.
Good luck and…happy mastering!
Thanks for reading Echoes by Vinilificio! Subscribe for free to receive new posts and support our work.


